Wetsuits have to take a lot on the chin. Stretched and pulled when you’re getting in and out of it, soaked in salt water, exposed to the sun for hours on end and, for the majority, peed in fairly regularly. Look after your wetsuit and it will serve you well, abuse it and it could start falling apart at the seams in no time. Strict fresh water rinsing after surfs, a shampoo to stop it stinking and hang drying out of the sun go a long way, but what about when your wettie has a tear or split? Doing your own wetsuit repairs quickly before a hole gets bigger will go a long way in prolonging the life of your rubber one-piece.
Repairing a Wetsuit Split Seam
Split seams are the easiest wetsuit repair to carry out. All you really need is wetsuit cement but for a professional job go all out and get some wetsuit seam tape too.
What you’ll need:
- Wetsuit cement
- Wetsuit seam tape
- Two heavy books, stones or similar
Step 1: Find the split and apply wetsuit cement to both sides.
Step 2: Keep seams apart (use two heavy objects either side) while cement drys for 5 minutes.
Step 3: Add second coat of wetsuit cement and leave to dry for a further 10 minutes.
Step 4: Press seams together firmly as wetsuit cement completely cures to ensure a tight bond.
Step 5: Glue wetsuit seam tape over the repair on the inside of the suit and leave to dry.
To see this process in action watch the video below, courtesy of Kourdory TV:
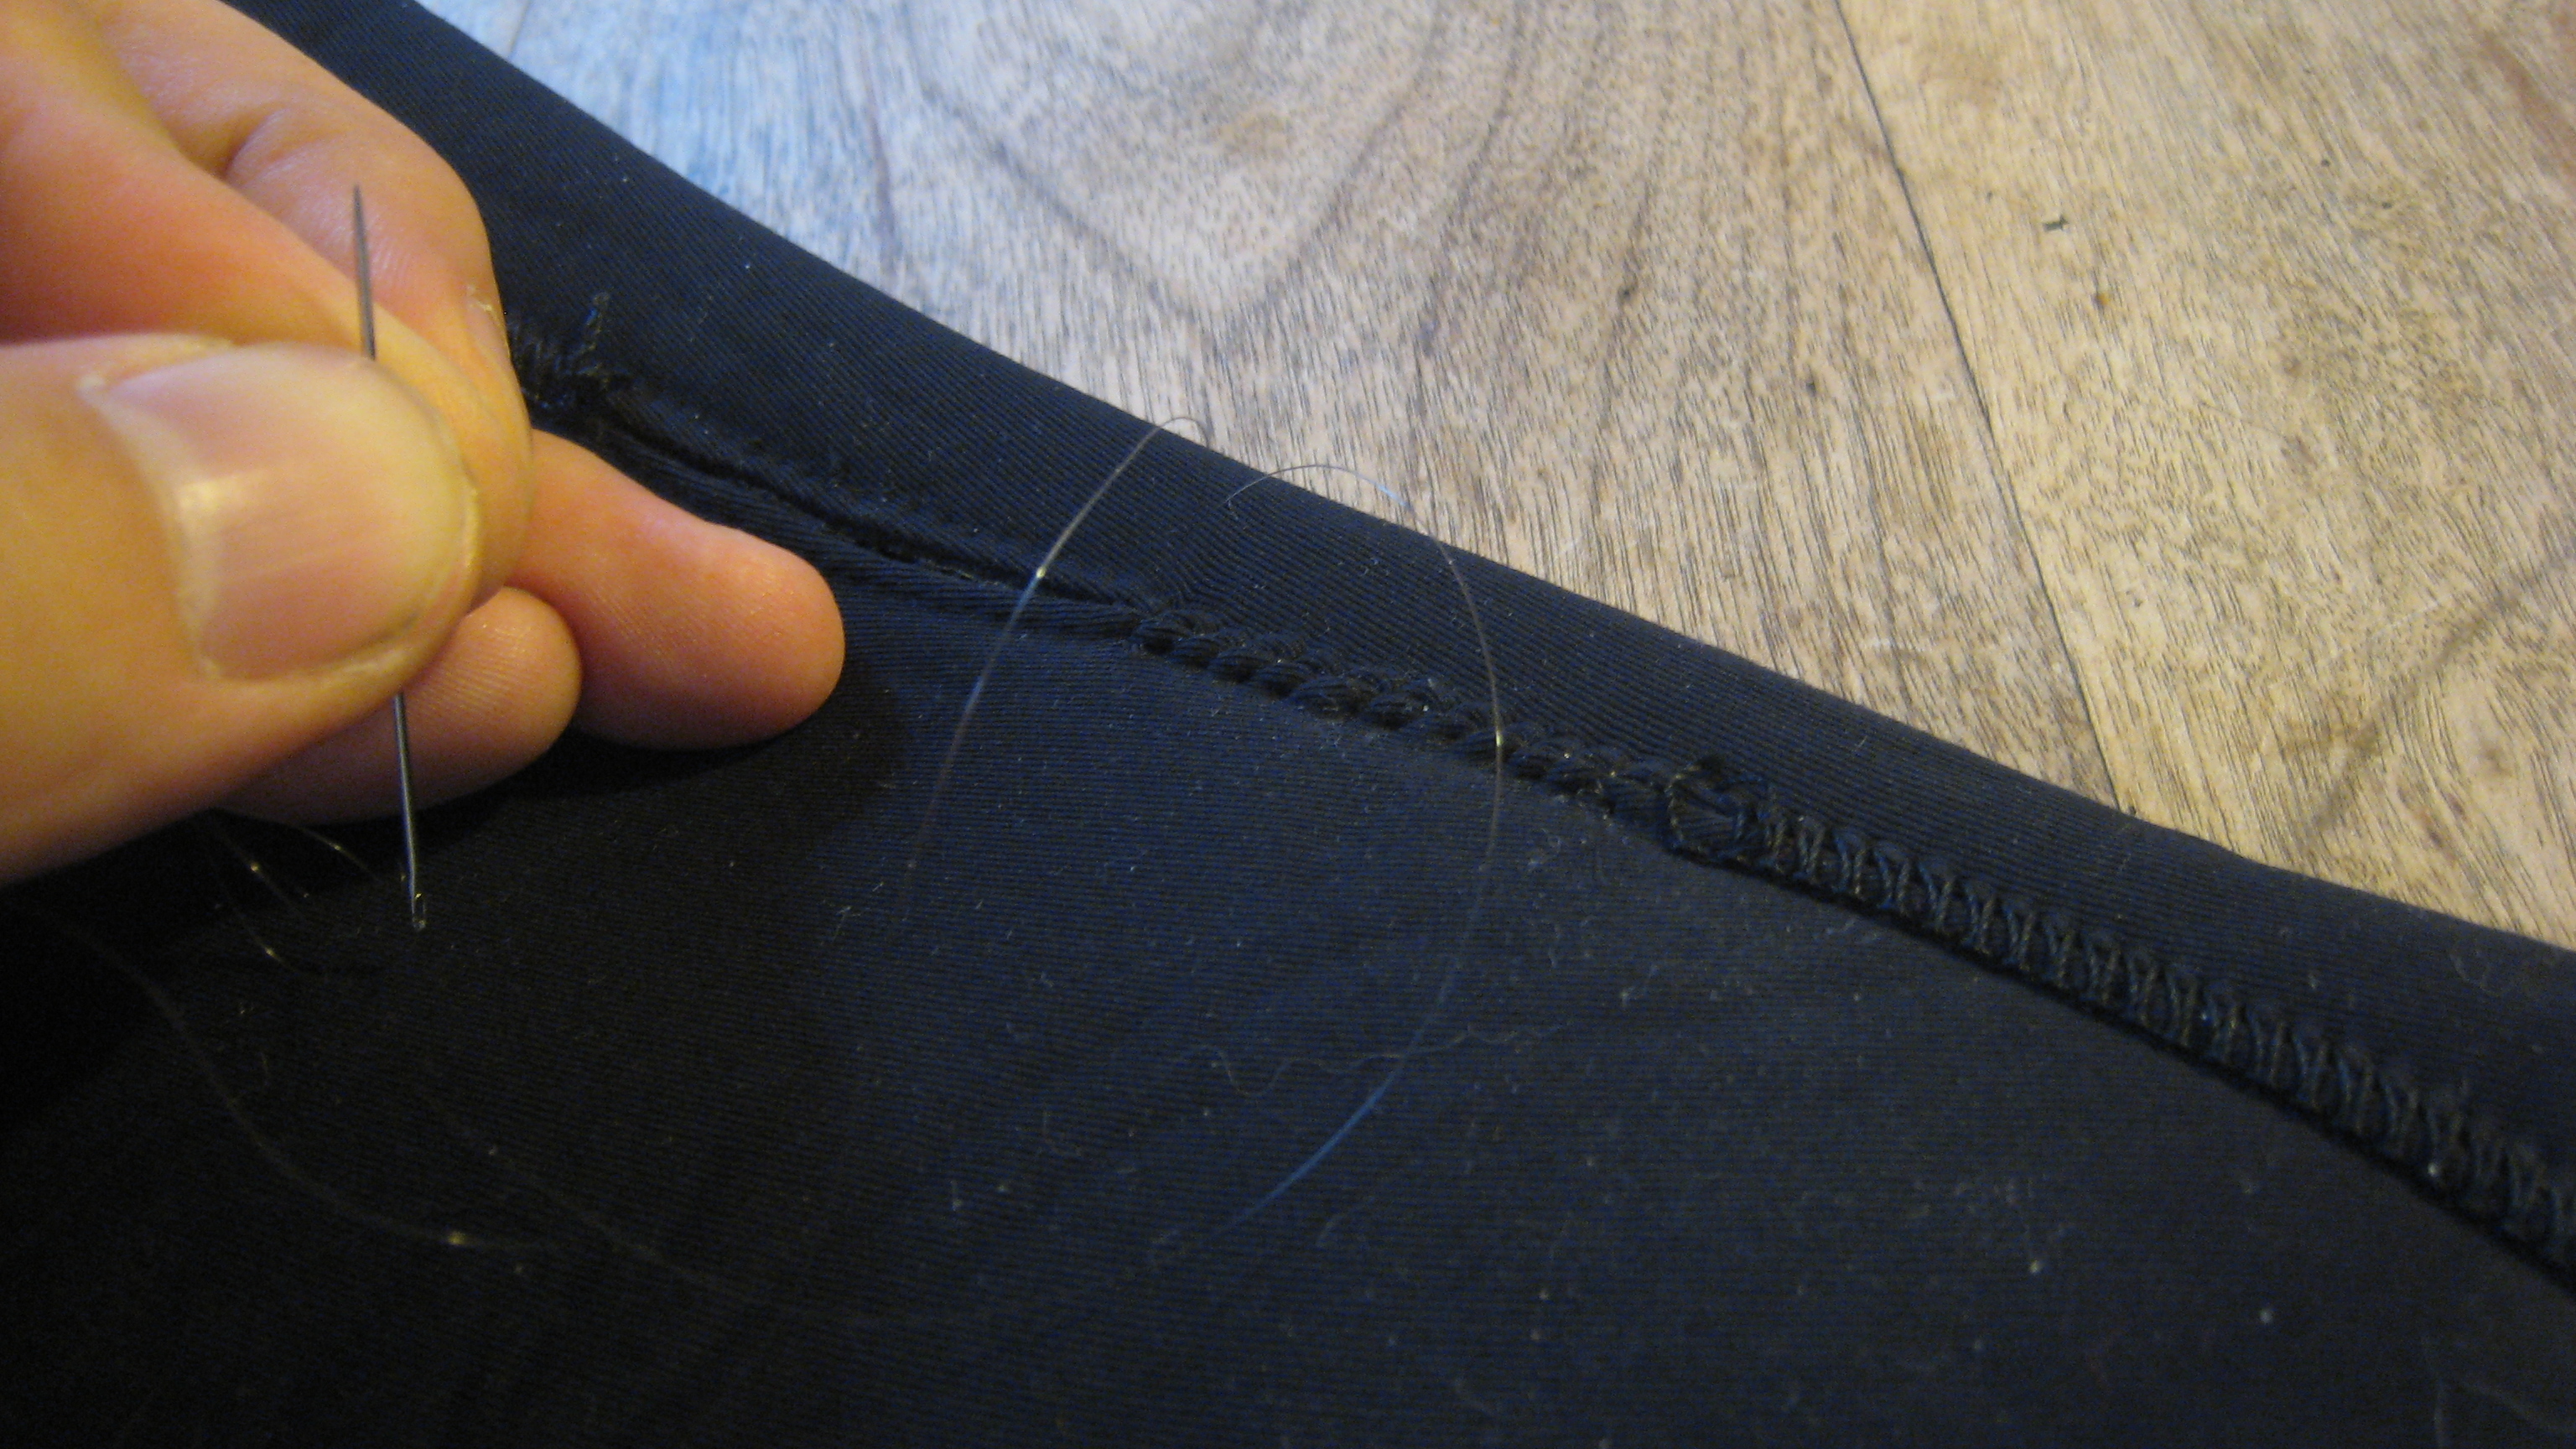
Repairing a Wetsuit Tear
Sewing up a tear is a slightly more complicated wetsuit repair so make sure you have steady hands before getting started.
What you’ll need:
- Wetsuit cement
- Dental floss
- Needle
Step 1: Apply wetsuit cement to both sides of the tear and leave for 5 minutes.
Step 2: Press the two sides of the tear together firmly.
Step 3: Take a length of floss (enough to sew along the entire tear), thread it trough the needle and tie a knot between the two ends.
Step 4: Sew up the two sides of the tear so they join together, paying careful attention to not rip the neoprene as you do it.
Step 5: When complete tie off the end and snip off excess floss at both ends of the repair.
Step 6: Paint wetsuit cement over the entire repair and stitching on both sides to protect the sewn area and strengthen the repair.
Step 7: Leave to cure and dry thoroughly (8 hours or overnight) before taking it back into the surf!
Now it’s over to Kourdory TV for a tutorial video for this repair, watch below:
Repairing a Wetsuit’s Broken Zipper
A broken zipper is a real bummer. If it is jammed try soaking the zip fastener in WD40 or special zipper lubricant and then moving it back and forth as much as you can to loosen it up. If your zipper fastener has come off its tracks, use the following method to get it back on them.
What you’ll need:
- Pliers
- Patience
Step 1: Find the zip tooth that is closest to the starting end of the zip.
Step 2: remove this zip tooth with pliers so there is a gap between the neighbouring teeth.
Step 3: Pull the zip fastener back to the start and widen the gap by pulling the two neighbouring teeth apart.
Step 4: Rethread the zip fastener on to the zip by pushing the teeth through the back of the fastener. This can be difficult, be patient!
Step 5: Once threaded through pull the zip up and down to ensure it works correctly.
No handy video that shows exactly how this method works, you’ll have to go this one alone! Hopefully all these tips should get you a few more years out of your wetsuits.